本文是对《深入理解Nginx》一书中的实例进行实战时的记录。
1模块目录结构
my_test_module/
├── config
└── ngx_http_mytest_module.c
1.1配置文件
config文件内容如下:
ngx_addon_name=ngx_http_mytest_module
HTTP_MODULES="$HTTP_MODULESngx_http_mytest_module"
NGX_ADDON_SRCS="$NGX_ADDON_SRCS$ngx_addon_dir/ngx_http_mytest_module.c"
1.2模块源码
ngx_http_mytest_module.c中的内容如下:
#include#include #include static ngx_int_t ngx_http_mytest_handler(ngx_http_request_t *r) { // Only handle GET/HEAD method if (!(r->method & (NGX_HTTP_GET | NGX_HTTP_HEAD))) { return NGX_HTTP_NOT_ALLOWED; } // Discard request body ngx_int_t rc = ngx_http_discard_request_body(r); if (rc != NGX_OK) { return rc; } // Send response header ngx_str_t type = ngx_string("text/plain"); ngx_str_t response = ngx_string("Hello World!!!"); r->headers_out.status = NGX_HTTP_OK; r->headers_out.content_length_n = response.len; r->headers_out.content_type = type; rc = ngx_http_send_header(r); if (rc == NGX_ERROR || rc > NGX_OK || r->header_only) { return rc; } // Send response body ngx_buf_t *b; b = ngx_create_temp_buf(r->pool, response.len); if (b == NULL) { return NGX_HTTP_INTERNAL_SERVER_ERROR; } ngx_memcpy(b->pos, response.data, response.len); b->last = b->pos + response.len; b->last_buf = 1; ngx_chain_t out; out.buf = b; out.next = NULL; return ngx_http_output_filter(r, &out); } static char* ngx_http_mytest(ngx_conf_t *cf, ngx_command_t *cmd, void *conf) { ngx_http_core_loc_conf_t *clcf; clcf = ngx_http_conf_get_module_loc_conf(cf, ngx_http_core_module); clcf->handler = ngx_http_mytest_handler; return NGX_CONF_OK; } static ngx_command_t ngx_http_mytest_commands[] = { { ngx_string("mytest"), NGX_HTTP_MAIN_CONF | NGX_HTTP_SRV_CONF | NGX_HTTP_LOC_CONF | NGX_HTTP_LMT_CONF | NGX_CONF_NOARGS, ngx_http_mytest, NGX_HTTP_LOC_CONF_OFFSET, 0, NULL }, ngx_null_command }; static ngx_http_module_t ngx_http_mytest_module_ctx = { NULL, NULL, NULL, NULL, NULL, NULL, NULL, NULL }; ngx_module_t ngx_http_mytest_module = { NGX_MODULE_V1, &ngx_http_mytest_module_ctx, ngx_http_mytest_commands, NGX_HTTP_MODULE, NULL, NULL, NULL, NULL, NULL, NULL, NULL, NGX_MODULE_V1_PADDING };
2编译运行
2.1编译Nginx和我的模块
Nginx依赖GCC, PCRE等,所以需要预先安装这些依赖包。之后下载nginx-1.4.2.tar.gz源码包并解压:
tarzxvf nginx-1.4.2.tar.gz
cdnginx-1.4.2
./configure–add-module=/usr/local/src/my_test_module
make
makeinstall
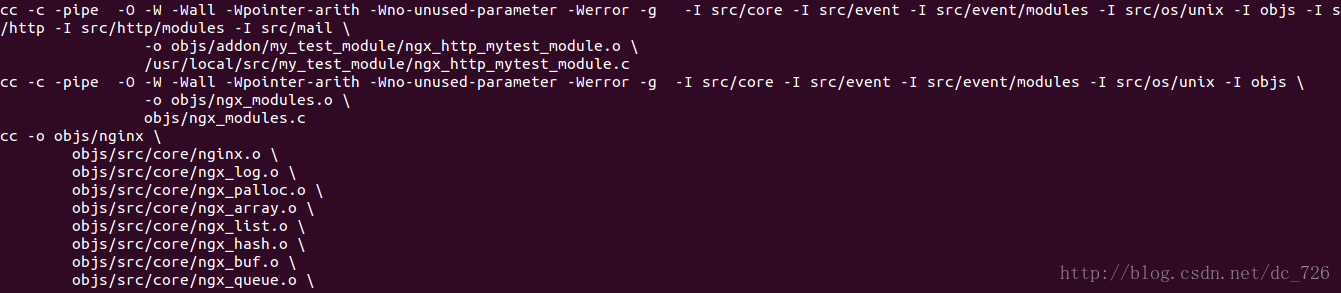
从make编译时的日志也能看到我们的模块被编译进Nginx内核了:
2.2启用我的模块
Nginx默认被安装到/usr/local/nginx下了,在其/conf/nginx.conf配置文件中添加一段server配置来启用我们的模块:
server{
listen80;
server_namemytest.com
location/ {
mytest;
}
}
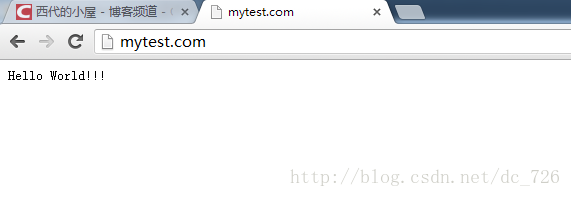
2.3运行效果
将域名mytest.com添加到Host中,指向Nginx所在机器,然后访问就能看到效果了:
3模块源码解释
(未完待续)